How to use ultrasonic sensor to triger buzzer alarm and hardwares with Ardiuno uno and c/c++ programming language.
COMPONENTS AND SUPPLIES
_ztBMuBhMHo.jpg?auto=compress%2Cformat&w=140&h=140&fit=fill&bg=ffffff)

 Relay X 1
 led x 2
 Ultrasonic sensor x 1
ABOUT THIS PROJECT
Relay X 1led x 2Ultrasonic sensor x 1
This is tutorial to help you understand ultrasonic and buzzer and go deeper into learning Arduino, follow these steps and give me feedback please.
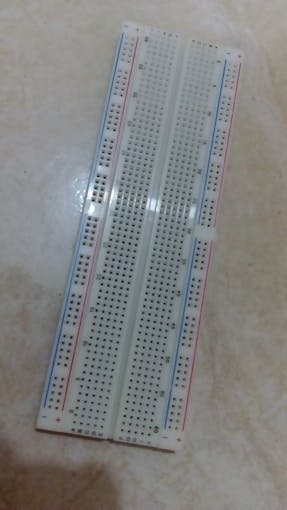


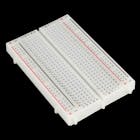
1. Test Board
2. Ultrasonic sensor
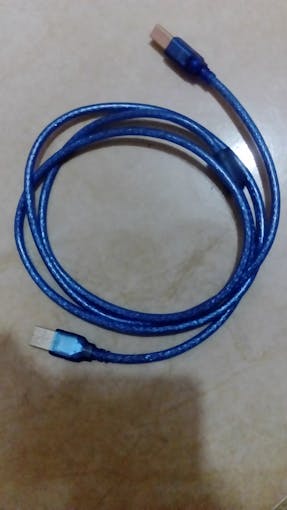
3. Arduino cable
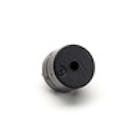
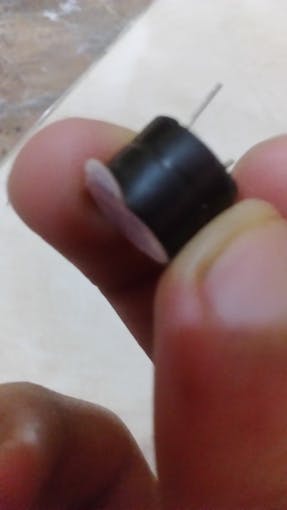
4. +5V buzzer
5. Male to male pins
6. Arduino uno board
7. 2 led(red & green)
8.Relay(5v dc to 220v ac)
Tools and materials are shown in the pictures.
Step 2: Connect your circuit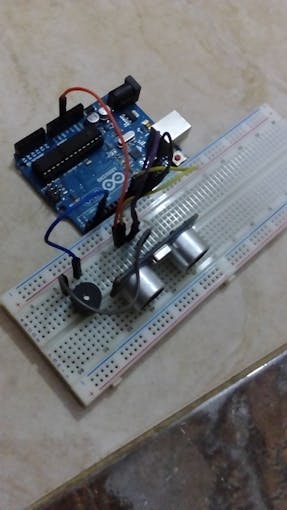

- Connect the Buzzer positive terminal to the Arduino pin 2 and the negative terminal to the Gnd.
- Connect the VCC pin of ultrasonic to +5v pin and the Gnd to the ground.
- Connect trig pin to pin 10 and echo pin to pin 9.
- connect red led to the pin 3 on the ardiuno
- connect green led to the pin 4 on the ardiuno with 330kohms resistor
- connect the relay to the pin 5 on the ardiuno with 330kohms resistor
- power the ardiuno GND and V+ with 5v power supply.
The pictures shows you the connection.
Step 3: Load the code to your Arduino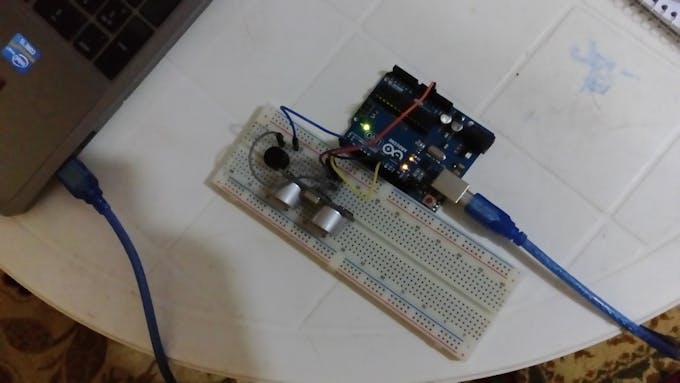
CODE:
https://create.arduino.cc/editor/mosesbrain/ef6f88ae-75c8-45fe-83d3-c73cf73c92c9/preview
/*
This code should work to get warning cross the buzzer when something is closer than 0.5 meter
ultrasonic sensor,2 LED,relay and buzzer +5v and Arduino uno is used for the project
*/
// Define pins for ultrasonic and buzzer
int const trigPin = 10;
int const echoPin = 9;
int const buzzPin = 2;
int const Redled = 3;
int const Greenled=4;
int const relay= 5;
void setup()
{
pinMode(trigPin, OUTPUT); // trig pin will have pulses output
pinMode(echoPin, INPUT); // echo pin should be input to get pulse width
pinMode(buzzPin, OUTPUT); // buzz pin is output to control buzzering
pinMode(Redled, OUTPUT); //Indicate problem
pinMode(Greenled, OUTPUT); // Indicate No problem
pinMode(relay, OUTPUT); // On 220v hardware
}
void loop()
{
// Duration will be the input pulse width and distance will be the distance to the obstacle in centimeters
int duration, distance;
// Output pulse with 1ms width on trigPin
digitalWrite(trigPin, HIGH);
delay(1);
digitalWrite(trigPin, LOW);
// Measure the pulse input in echo pin
duration = pulseIn(echoPin, HIGH);
// Distance is half the duration devided by 29.1 (from datasheet)
distance = (duration/2) / 29.1;
// if distance less than 0.5 meter and more than 0 (0 or less means over range)
if (distance <= 50 && distance >= 0) {
// Buzz
digitalWrite(buzzPin, HIGH);
digitalWrite(Redled, HIGH);
digitalWrite(Greenled, LOW);
digitalWrite(relay, HIGH);
} else {
// Don't buzz
digitalWrite(buzzPin, LOW);
digitalWrite(Redled, LOW);
digitalWrite(Greenled, HIGH);
digitalWrite(relay, LOW);
}
// Waiting 60 ms won't hurt any one
delay(60);
}
Some of the many ultrasonic sensor applications which use Migatron sensors are;- Robotic sensing.
- Stacking height control.
- Loop control.
- Liquid level control.
- Full detection.
- Counting people/people detection.
- Presence detection.
- Detecting breaks in threads or wires.
- Robotic sensing.
- Stacking height control.
- Loop control.
- Liquid level control.
- Full detection.
- Counting people/people detection.
- Presence detection.
- Detecting breaks in threads or wires.
About Me
 |
Popular Post
- Wifi hacking with python
- Complete html,css and javascript web page
- Facebook login and sign up form with html,css and javascript
- Resturant,college,hostital and pharmercy store management system with python
- online shopping website with html,css and javascript
- Text to speech app with html,css and javascript
- Online text editor with html,css and javascript
- Quiz app with html,css and javascript
- To -do app with html,css and javascript
- Traffic ligth project
- Home automation
- Ultrasonic sensor and ardiuno project


Comments
Post a Comment